Online shopping provides a quick and convenient way to purchase products, and this is especially true for the...
Abdominal Pads
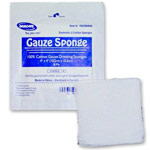
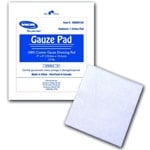
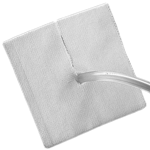
Abdominal Pads, also referred to as ABD Pads, are used for large wounds or for wounds requiring high absorbency. This abdominal dressing was originally developed for the military to treat battle wounds. ABD is an acronym for "Army Battle Dressing." In fact, several abdominal wound dressings currently in use today were originally developed for battle field situations. Many people today associate this absorbent dressing as an abdominal wound dress
-
Cost-Effective
MedlineMedline Sterile Abdominal Pads, Extra Absorbent ABD Dressings- Designed for larger wounds
- Sealed edges to prevent linting
- Made with extra-thick, highly absorbent material
$0.52 - $150.61(113)
-
Highly Reviewed
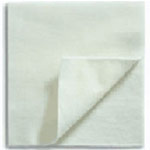
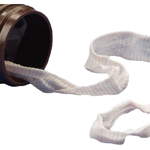
Cardinal HealthCurity Abdominal Pads Sterile & Non-Sterile - Cardinal Health- Soft, non-woven material
- Highly absorbent core
- Moisture barrier backing
$0.37 - $172.25(186)
-
Best in Class
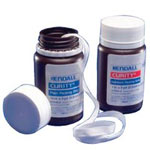
ABENAAbena Sterile ABD Pads- Pads available in boxes or cases
- Comes in variety of sizes
- Use for wounds with heavy exudate
$5.22(1)
-
Most Popular

-
 (5)$0.33 - $4.61
Out of stock
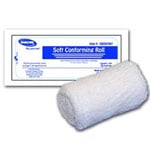
Vitality Medical carries a wide assortment of ABD dressings from major medical manufacturers, including the Medline ABD Pads, Invacare ABD Gauze Pad, Dukal Combine ABD Pad, and the Hartman Sorbalux ABD Pad.
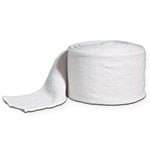
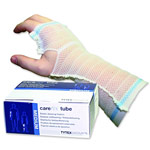
Packing Wounds with the Emergency Bandage and ABD Pad
Video Transcript
Glove up before every rescue. If possible, immediately apply direct pressure to the wound or upstream of it while preparing your bandage.
Open the outer wrapper by tearing along the short edge of the packaging. Open the inner wrapper by tearing along the notch in the center of the package tail.
Open the ABD pad packaging by tearing along one corner. Unfold the bandage pad while keeping the bandage roll tight in one hand.
Crumple the ABD pad into a ball with your fists. Press the crumpled pad into the deepest portion of the wound. Do not press farther into the wound then you can see.
Place the pad of the emergency bandage directly onto the crumpled ABD pad maintaining pressure throughout. Begin wrapping the bandage keeping the rolled end as close as possible to the wrap.
Thread the bandage through the slot in the center of the d-ring which is attached to the back of the bandage pad. Continue to wrap the bandage and thread through the d-ring a second time.
Use the d-ring to reverse the direction of the wrap pulling the d-ring flat against the pad. Continue to wrap the bandage in a figure eight pattern.
Once the tail end is reached, tuck the windlass underneath and through the previous wrap. Rotate the windlass at least two full turns twisting the outer wrap around it in order to tighten the bandage to a level of pressure sufficient to stop the bleeding.
Attach at least one windlass end to an edge of the bandage wrap. Check that the bleeding has stopped.
Related Categories
Inspired by your history...

@Recommendation.StarRating
@Recommendation.Gender
Login and Registration Form