Quick Summary:
Click a link to jump to the section.
Introduction
Tracheostomy home care allows patients to manage their trach tubes in comfortable, familiar surroundings. This blog will serve as a step-by-step educational resource. Going forward, we’ll discuss airway management for caregivers and patients.
Caregivers play an important role in maintaining hygiene, patient safety, and airway function. They should implement a daily trach cleaning routine to ensure supplies are safe to use. Consistency in trach care is vital to infection prevention at home.

1. Understanding Tracheostomy Basics
Tracheostomy care education is helpful for those new to stomas. Learning stoma management basics prepares users and loved ones for at-home care.
A tracheostomy is a procedure in which a surgeon creates a hole in the neck and inserts a tube into the trachea. This allows air to enter the windpipe directly. Trach tubes facilitate easier breathing for those with an obstructed upper airway.1
Trach tube components include the stoma, obturator, and the outer and inner cannula. The stoma is the opening where the tube enters.
The outer cannula stays in the neck. The inner cannula locks in place, though you will remove it for daily cleaning.2 During insertion, the obturator guides the outer cannula into the windpipe. The obturator protects tissues and ensures correct placement in the airway.3
Tracheostomy home care is performed when a patient needs to use a trach tube outside a hospital setting. This applies to those with long-term dependence on ventilators, whether because of a medical condition or injury.
2. Setting Up a Clean Work Area
Trach care organization is essential, as it keeps supplies accessible. Following these simple steps will ensure a safe, clean area.
- Obtain caregiver hygiene supplies, including saline solution, dressings, and sterile water.
- Prepare a sterile, organized trach care setup to support contamination prevention. Caregivers may want to use labels and dividers to ensure they can find items easily.
- When changing a trach tube, use the clean technique. For example, wash hands and use gloves when handling sterile supplies. Avoid touching unnecessary surfaces during tube changes. Perform proper hygiene and used item disposal to prevent the spread of germs.
3. Cleaning and Changing the Inner Cannula
- Reusability: Depending on your needs, you might opt for either a reusable or disposable cannula replacement. Disposable cannulas are convenient for short-term use and help prevent cross-contamination. Reusable cannulas are durable and cost-effective over time.
- Frequency: The inner cannula should be cleaned at least twice a day, depending on doctor recommendations. Watch out for signs of buildup, irritation, or blockage. Cleaning tracheostomy cannulas regularly is important. This aids in mucus plug prevention and keeps the airway clear.
- Tools: When replacing a reusable inner cannula, you will need the right airway cleaning tools. Prepare a cleaning kit with brushes. Soak the cannula in a sterile solution for five minutes. Use gauze to clean outside the tube and swabs to clean the inside. Finally, dry it with a paper towel and replace it in the outer cannula.4
4. Caring for the Stoma Site
Trach stoma cleaning involves dressing and tie changes. The tie, or soft collar, helps maintain the neck plate's position. Change trach dressings and ties when they are wet or soiled, throwing them away with other disposable trach supplies. Make sure the ties keep the neck plate in place without being too tight.
Caregivers should prioritize skin protection around stoma. Use gauze or swabs dipped in saline solution to clean under and around the flange. Afterward, pat the area dry to remove all moisture. Keeping this area clean prevents trach site irritation.
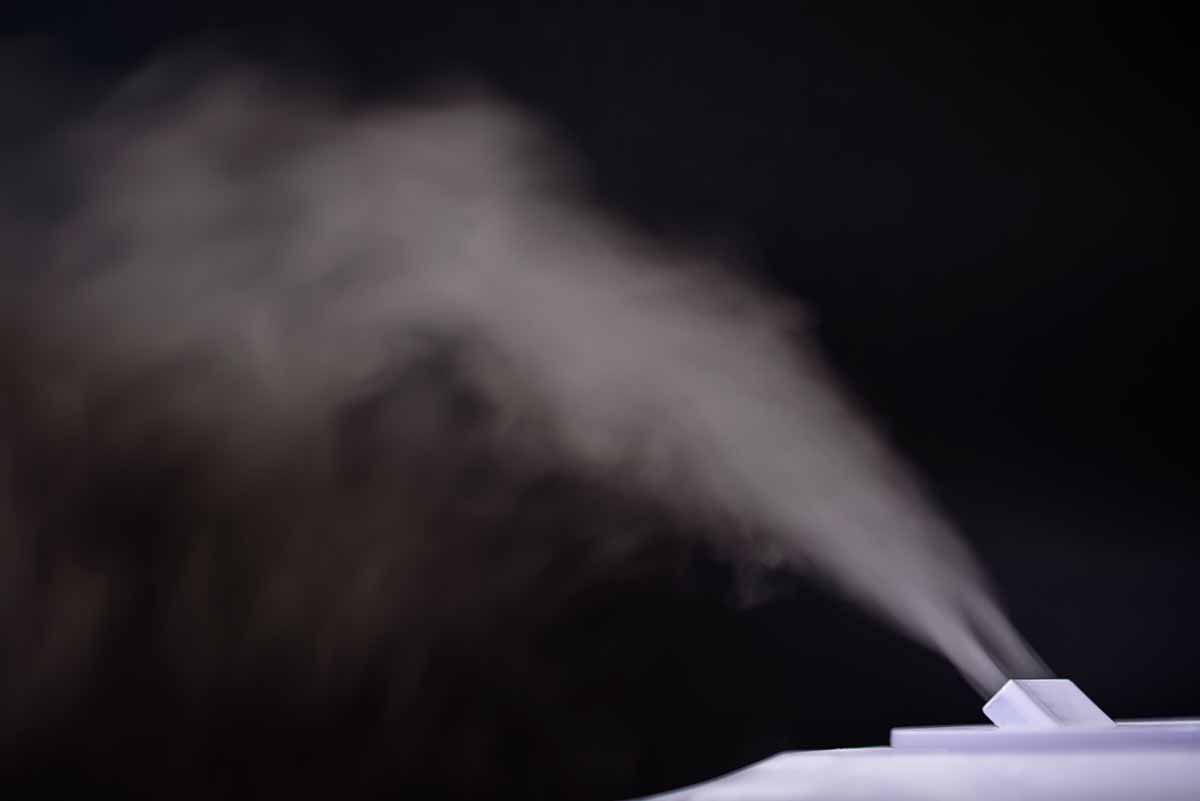
5. Managing Suctioning and Humidification
Humidified air therapy helps retain moisture in the trachea. This is important because it protects the airway from infection and mucus blockage.5 Caregivers should select a powerful humidifier intended for tracheostomy care, with an optimal humidity level of about 40-60%.
A tracheostomy suction procedure clears the throat of mucus when the patient is unable to cough it up. Suction catheter use can be helpful for those with a wet cough, trouble breathing, chest retractions, restlessness, or whistling sounds from the tube.6
Secretion management tools include connection tubing, a suction machine, a catheter, and a basin of distilled water. Put on clean gloves before connecting the catheter to the tubing. Gently insert the catheter into the trach tube, suctioning for no longer than ten seconds at a time.
Using the catheter, clear the tubing with distilled water and set it aside for disinfection. Consult with your care physician for safe suctioning tips.
6. Routine Equipment Checks and Replacement
- Inspect and clean equipment: Tracheostomy accessory maintenance includes regular cleaning and replacement. The inner cannula should be inspected at least twice a day, while the trach site and tubing should be cleaned daily.
- Follow a replacement routine: Caregivers should adhere to a trach tube replacement schedule. The frequency of tubing replacements ranges from one to six months, though it depends entirely on the patient’s needs. Follow your doctor’s recommendations for how often to clean and replace parts.
- Prepare for emergencies: Maintaining small trach care kits and emergency trach supplies can be helpful in critical situations. It’s important to keep extra parts on hand in case they are expelled or damaged. Explore the variety of to find replacement parts that suit your needs.
7. Recognizing and Responding to Complications
Stay prepared for potential tracheostomy complications. Watch out for common infection warning signs. These include thick or colored mucus, redness, swelling, bad odor, fever, or trouble breathing.
Tracheal stenosis is a condition in which the windpipe narrows, making it hard for air to get through. Some trach blockage symptoms include trouble breathing, a bad cough, congestion, and wheezing. Patients should test for this condition when warning signs occur.
Prepare for a potential airway obstruction response in case there is buildup in the tubing. Seek medical attention in the case of trach complications and infection. A caregiver monitoring checklist, such as a daily care log, can help one track observations and catch symptoms early.
Conclusion
Safe tracheostomy management doesn’t need to be difficult. With the help of a caregiver and loved ones, at-home trach care can become a simple part of your daily schedule.
A consistent trach care routine is essential in promoting safety and comfort. Regular cleaning and replacement of parts prevents bacterial growth. Caregiver preparedness is key for reducing the risk of tracheostomy complications. Prioritize keeping things organized, using the clean technique, and employing proper equipment.
Vitality Medical is a trusted, accessible source for tracheostomy care supplies and replacement parts. Discover trach supplies for home care and learn further how to handle trach supplies.
Footnotes
1 "Cleveland Clinic (2025, February 12)." Tracheostomy.
2 "Mount Sinai." Parts of a Tracheostomy.
3 "Healthline (2023, June 14)." How Is an Obturator Used for Tracheostomy Care?.
4 "Cleveland Clinic (2023, September 6)." How To Do Trach Care at Home.
5 "River of Life: Care Center" Life-Saving Tracheostomy Care: A Guide to Humidification, Suctioning & Abnormal Secretions.
6 "Cleveland Clinic (2023, October 12)." Tracheostomy Suctioning.


Login and Registration Form